TL;DR:
- Proper surface preparation is essential for optimal paint adhesion, coating durability, and long-term protection against corrosion.
- Skipping steps like decontamination, verifying anchor profiles, and using correct grit sequences significantly increases the risk of coating failure and repair costs.
Surface preparation is the process of cleaning, profiling, and priming a vehicle’s exterior to create the conditions required for paint and protective coatings to bond properly and last. The importance of surface preparation for cars cannot be overstated: without it, even the most expensive ceramic coating or paint protection film will fail prematurely. Contaminants like grease, wax residue, and airborne oils create a barrier between the coating and the metal or clear coat beneath. The result is peeling, bubbling, and corrosion that no amount of topcoat quality can prevent. Proper prep is the foundation that every durable, high-performance finish is built on.
How does surface preparation affect paint adhesion and durability?
Paint adhesion depends entirely on a clean, contaminant-free surface that allows the coating material to form a mechanical or chemical bond with the substrate. When grease, wax, or oxidation sits between the paint and the panel, that bond never fully forms. The coating cures on top of the contaminant rather than the metal or clear coat, which means the first stress from heat, moisture, or flex will cause it to lift.
The failure modes are predictable and well-documented:
- Peeling: Coating separates from the substrate because no true bond was formed
- Bubbling: Trapped moisture or solvent vapor pushes the coating away from the surface
- Blistering: UV exposure accelerates delamination where adhesion was already compromised
- Premature corrosion: Moisture penetrates through micro-gaps at the coating edge and attacks bare metal
Sanding plays a direct role in mechanical adhesion. Moving through a stepwise grit sequence, from coarser grits to finer ones, creates a controlled surface texture that gives the primer or coating material something to grip. Skipping grits leaves deep scratches that show through the final finish, while stopping too early leaves the surface too smooth for adequate bonding.
Primers add a second layer of protection by chemically bonding to the substrate and providing a uniform base for the topcoat. Epoxy primers, for example, resist moisture penetration and corrosion far better than bare metal, which is why they are standard in professional collision repair and high-end detailing applications.
Pro Tip: After sanding, wipe the surface with an isopropyl alcohol solution before applying primer. Any remaining wax or silicone contamination will show up as fish-eye defects in the primer coat, which are far harder to fix than the original contamination.
What are the key surface preparation techniques for cars?
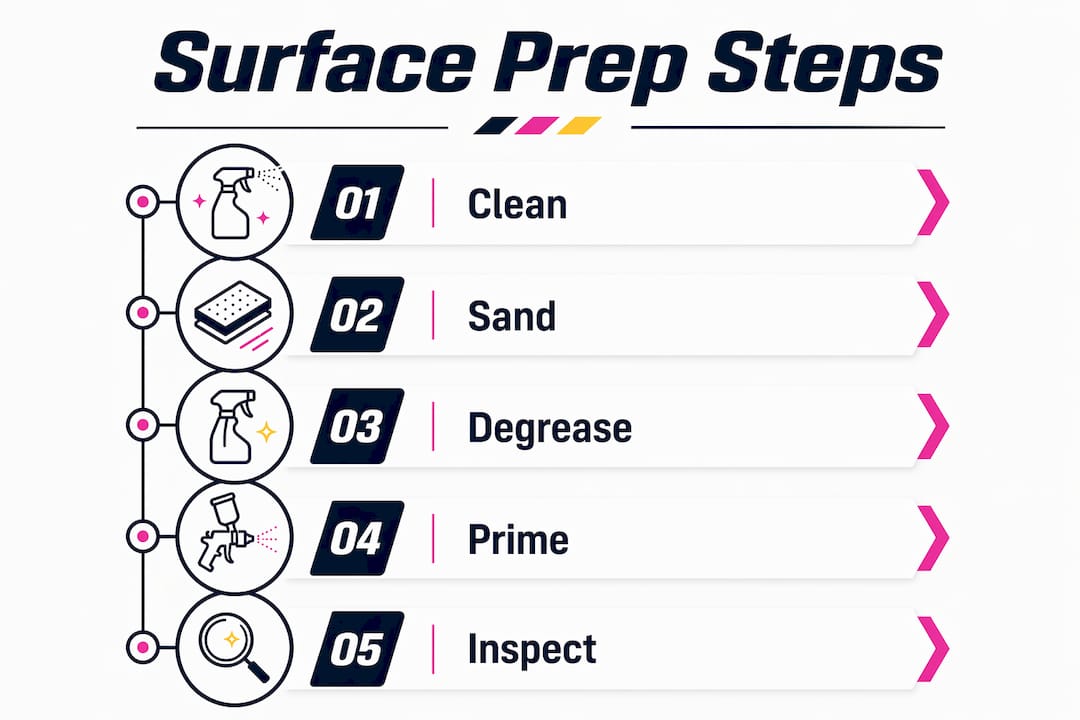
Proper surface preparation follows a defined sequence. Skipping or reordering steps is the most common cause of rework in professional shops. The following process reflects current best practice for automotive paint and coating applications.
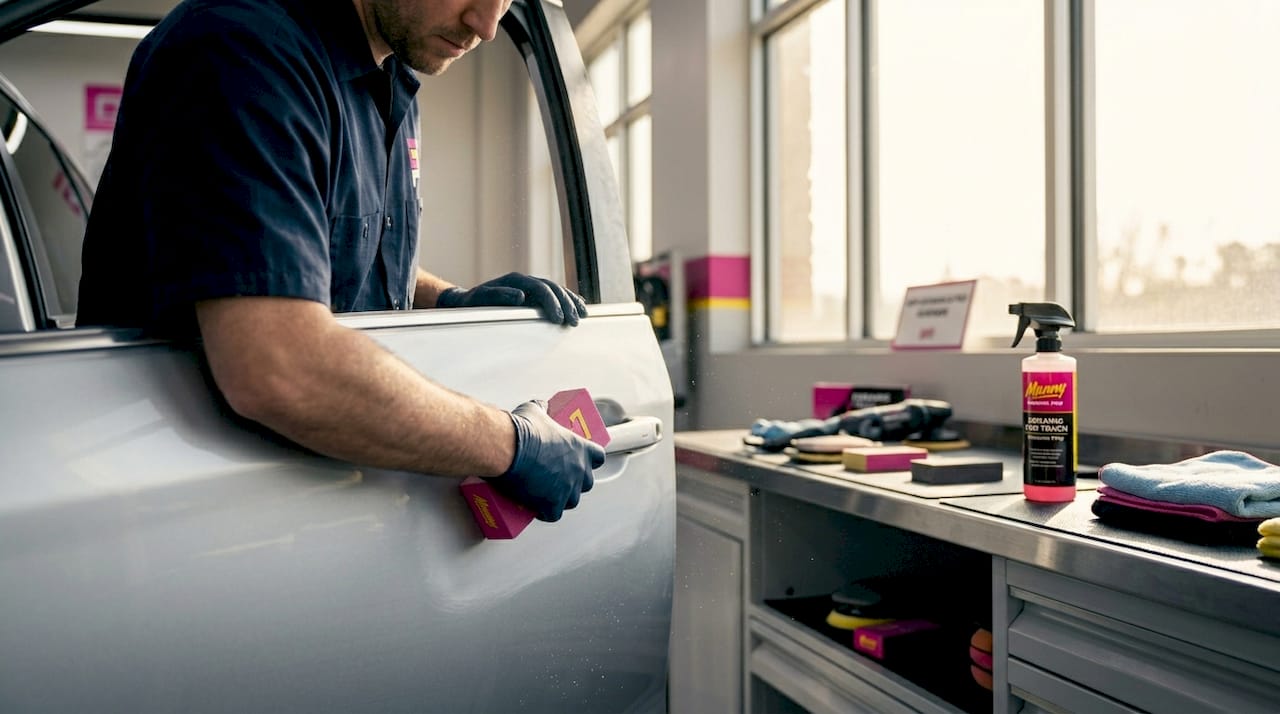
- Chemical decontamination: Apply a dedicated automotive degreaser or panel wipe to remove oils, wax, and silicone. Iron removers and clay bars address bonded contamination that chemical wipes cannot reach.
- Mechanical cleaning: Sand the surface using a stepwise grit sequence appropriate to the repair type. Bare metal repairs typically start at 80 grit and finish at 320 to 400 grit before priming. Spot repairs on existing paint use finer sequences starting at 180 to 220 grit.
- Anchor profile verification: Measure the surface profile using a replica tape and micrometer or a digital profilometer. The SSPC-SP11 standard requires a minimum 25 µm Rz anchor profile for coatings applied to bare metal. Visual inspection alone is not sufficient to confirm compliance.
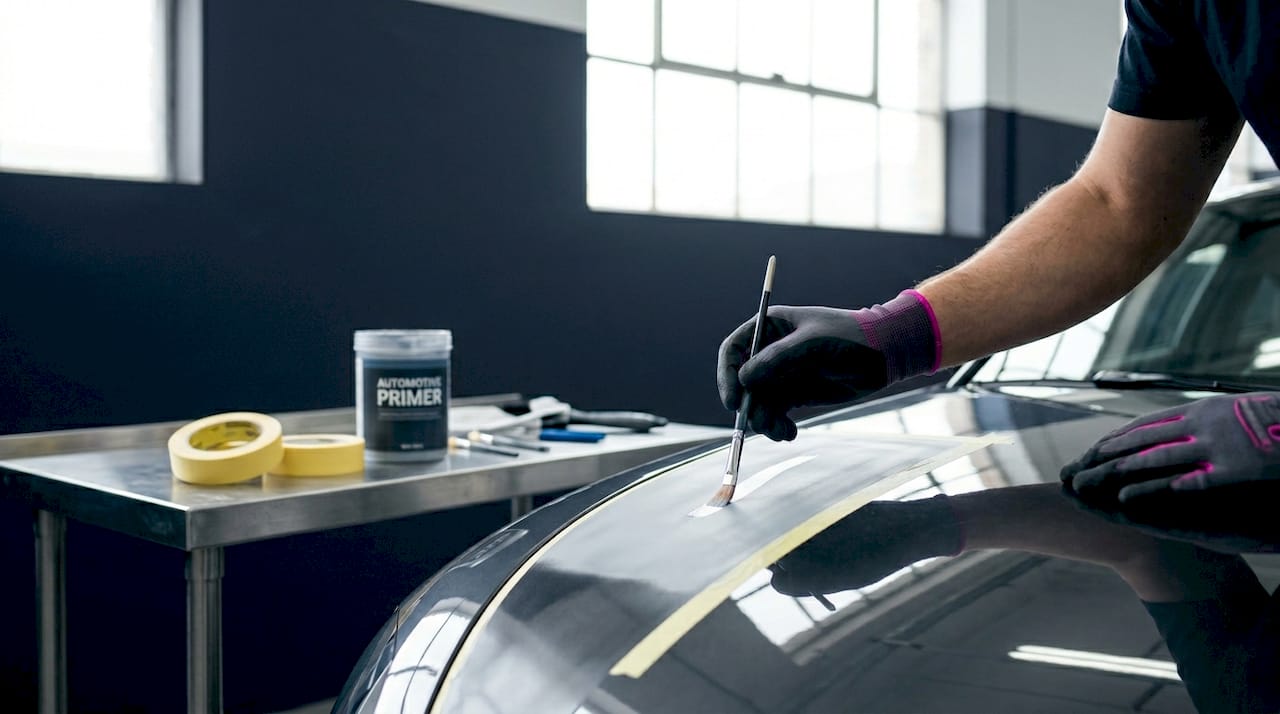
- Primer application: Apply the correct primer type for the substrate and topcoat system. Epoxy primer for bare metal, sealer for existing paint, and self-etching primer for aluminum panels each serve a different bonding purpose.
- Final surface check: Inspect under a high-intensity light source for sanding scratches, contamination, and surface irregularities before applying the topcoat or protective coating.
The table below compares the three most common cleaning methods used in automotive surface preparation:
| Method | Best used for | Limitation |
|---|---|---|
| Chemical degreaser/panel wipe | Removing oils, wax, and silicone before sanding | Does not address bonded contamination or oxidation |
| Clay bar decontamination | Removing embedded fallout, rail dust, and industrial deposits | Requires lubrication; can marr soft paint if used dry |
| Mechanical sanding | Creating anchor profile and removing old coatings | Requires correct grit sequence; over-sanding damages substrates |
Each method addresses a different type of contamination. Professional results require all three in sequence, not one chosen over the others.
How do industry standards and recent research shape surface prep best practices?
The SSPC (Society for Protective Coatings) and NACE International publish the standards that define acceptable surface cleanliness and profile for industrial and automotive coating applications. These standards are not theoretical. They exist because decades of field failures traced back to inadequate preparation.
SSPC-SP11 specifies power tool cleaning to bare metal with a minimum 25 µm Rz anchor profile. It is the standard most commonly specified when abrasive blasting is impractical, such as in confined spaces or on assembled vehicles. Tools like the Bristle Blaster achieve this profile where wire brushes cannot. Wire brushes typically fail to reach the 25 µm Rz threshold, which means surfaces that look clean still lack the mechanical texture required for lasting adhesion.
Research on cleanliness levels confirms that the degree of surface preparation directly changes both adhesion strength and corrosion resistance. A study on epoxy-coated A36 steel found that NACE cleanliness levels produce measurably different pullout strength and corrosion rates. NACE 2 delivered the highest pullout strength, while NACE 1 produced the lowest corrosion rate. This means the optimal cleanliness target depends on whether adhesion or corrosion protection is the primary concern for a given application.
“Surface preparation isn’t just cleaning. It includes creating and verifying an anchor profile. Skipping profile checks leads to failures despite a ‘bare metal’ appearance.” — SSPC-SP11 technical guidance
Timing matters as much as technique. Premature sanding of body filler breaks the adhesion layer before it has fully cured, forcing costly rework. The Collision Industry Conference reported in 2026 that 64% of re-repair failures in collision contexts stem from poor filler mixing and application timing. That figure represents a systemic process problem, not isolated user error.
Digital simulation is also reshaping how professionals validate preparation quality. A 2026 SAE technical paper on virtual paint shop modeling demonstrated that uniform e-coating thickness and controlled oven curing profiles correlate with real-world adhesion at R² greater than 0.9. This level of predictive accuracy means process uniformity during prep and application is now quantifiable, not just anecdotal.
What common mistakes should car owners and DIYers avoid in surface prep?
Most surface preparation failures come from shortcuts that seem reasonable in the moment but create compounding problems. The following mistakes are the most frequently cited causes of poor adhesion and premature coating failure:
- Skipping the decontamination step: Sanding over wax or silicone contamination drives it deeper into the surface rather than removing it. The coating then bonds to the contaminant layer, not the substrate.
- Using the wrong grit sequence: Jumping from 80 grit directly to 400 grit leaves deep scratches that show through primer and topcoat. Each grit step should remove the scratches left by the previous one.
- Sanding filler too early: Filler that has not fully cured will compress under sanding pressure and spring back after the coating is applied, causing surface distortion and adhesion loss. Overusing body filler and rushing application are leading causes of cracks and paint failure in repair work.
- Ignoring the anchor profile: A surface that looks clean and smooth may still lack the 25 µm Rz profile required for coating adhesion. Visual checks do not replace profile measurement.
- Applying primer over contaminated surfaces: Any oil, moisture, or dust on the surface at the time of primer application will be sealed in, creating a permanent weak point in the coating system.
- Rushing between steps: Each stage of surface preparation requires adequate dry time, cure time, and inspection before the next step begins. Speed is the enemy of adhesion.
Pro Tip: Before any sanding begins, run a clean white cloth dampened with isopropyl alcohol across the panel. If the cloth picks up color, wax, or oily residue, the surface needs a full chemical decontamination pass before mechanical work starts.
Proper prep also has a direct impact on how well the surface resists UV rays and moisture over time. Environmental stressors degrade paint far faster when adhesion is compromised from the start. A coating applied over a properly prepared surface will outlast the same product applied over a contaminated one by a significant margin.
Key takeaways
Proper surface preparation is the single most important factor in paint adhesion, coating durability, and long-term protection against corrosion and environmental damage.
| Point | Details |
|---|---|
| Adhesion starts with cleanliness | Contaminants like grease and wax prevent coatings from bonding to the substrate, causing early failure. |
| Anchor profile is non-negotiable | SSPC-SP11 requires a minimum 25 µm Rz profile; visual checks alone cannot confirm compliance. |
| Grit sequence determines finish quality | Stepwise sanding from coarse to fine removes scratches progressively and creates proper mechanical bonding texture. |
| Timing affects filler adhesion | Sanding filler before full cure breaks the adhesion layer and forces costly rework. |
| Standards exist for a reason | NACE cleanliness levels produce measurably different adhesion strength and corrosion resistance outcomes. |
What I’ve learned after years of working on high-value vehicles
Most car owners underestimate how much of the final result is determined before the first drop of coating ever touches the panel. The prep work is invisible in the finished product, which is exactly why it gets skipped. But the failures it prevents are very visible: peeling clear coat, rust blooms under paint, and coatings that look great for six months and then start lifting at the edges.
The biggest misconception I see is that a clean-looking surface is a prepared surface. It is not. A panel can look spotless under shop lighting and still carry silicone contamination, insufficient anchor profile, or micro-oxidation that will compromise adhesion. That is why the step-by-step prep process matters more than the products used in it.
Professional prep and DIY prep are not interchangeable for high-value vehicles. The tools, the measurement equipment, and the trained eye for surface defects are not things you improvise. For a daily driver getting a basic respray, a careful DIY process can produce acceptable results. For a luxury or exotic vehicle where the coating is protecting a significant asset, the prep needs to match the investment.
The detail that most professionals miss is post-prep timing. You can do everything right and still compromise the job by leaving a freshly prepped surface exposed to shop air, humidity, or handling for too long before applying the coating. Prep and application need to be treated as a continuous process, not two separate jobs.
— Emmanuel
Protect your investment with professional-grade surface preparation

At Mannyceramicprotouch, every vehicle goes through a thorough preparation process before any coating or film is applied. The effectiveness of Liquid PPF and ceramic coatings depends entirely on the surface beneath them. A coating applied over a properly prepared surface bonds at the molecular level and performs as designed for years. One applied over contamination fails in months. If you drive a vehicle worth protecting, the prep process is where that protection is either secured or lost. Explore Mannyceramicprotouch’s Liquid PPF solutions and paint protection services to see how professional preparation translates into long-term results.
FAQ
What is surface preparation in automotive paint work?
Surface preparation is the process of cleaning, decontaminating, sanding, and priming a vehicle panel to create the conditions required for paint or protective coatings to bond properly. It includes both chemical cleaning and mechanical profiling of the substrate.
Why does surface prep matter for ceramic coatings?
Ceramic coatings bond chemically to the clear coat or substrate. Any contamination, wax, or surface irregularity between the coating and the panel prevents that bond from forming, leading to premature failure, water spots, and uneven protection.
How do I know if my car’s surface is properly prepared?
A properly prepared surface passes both a visual inspection under high-intensity lighting and a physical profile check. For bare metal applications, the anchor profile must meet the 25 µm Rz minimum specified by SSPC-SP11. An isopropyl alcohol wipe test also confirms the absence of oils and silicone contamination.
Can I skip primer if the surface looks clean?
Skipping primer removes a critical layer of corrosion resistance and adhesion promotion. Primer bonds to the substrate and provides a uniform base for the topcoat. Without it, the topcoat bonds directly to bare metal or sanded clear coat, which reduces durability and increases the risk of moisture-related failures.
What happens if body filler is sanded too early?
Sanding filler before it fully cures compresses the material under pressure, which then springs back after the coating is applied. This causes surface distortion and breaks the adhesion layer. According to 2026 collision industry data, premature filler sanding is a leading driver of re-repair failures in professional shops.