

TL;DR:
- A ceramic booster is a SiO2-infused spray that restores hydrophobic protection, gloss, and durability on ceramic-coated surfaces. Proper surface preparation, correct application techniques, and avoiding common mistakes are essential for optimal results and protection lasting up to six months. Regular reapplication and professional coatings improve longevity, especially in high-exposure environments.
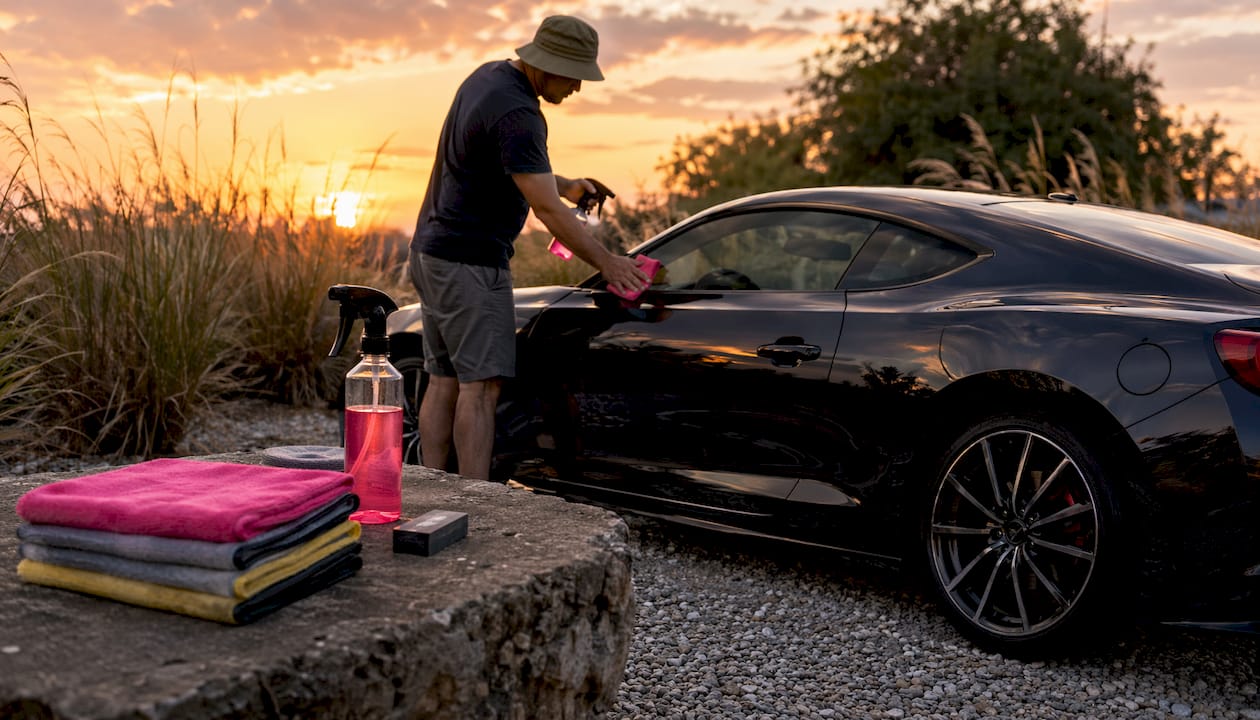
A ceramic booster is defined as a SiO2-infused spray product applied to a clean, ceramic-coated surface to refresh hydrophobic protection, restore gloss, and extend coating durability. This ceramic booster application guide covers every step from surface preparation through post-application care, so you get the most from each treatment. The process works by depositing a fresh layer of silicon dioxide onto your paint, which bonds to the existing coating and restores water-beading performance. Done correctly, it is one of the most cost-effective maintenance steps available to any vehicle owner. Done incorrectly, it leaves streaks, high spots, and a finish that looks worse than before you started.
What tools and prep steps does a ceramic booster application guide recommend?
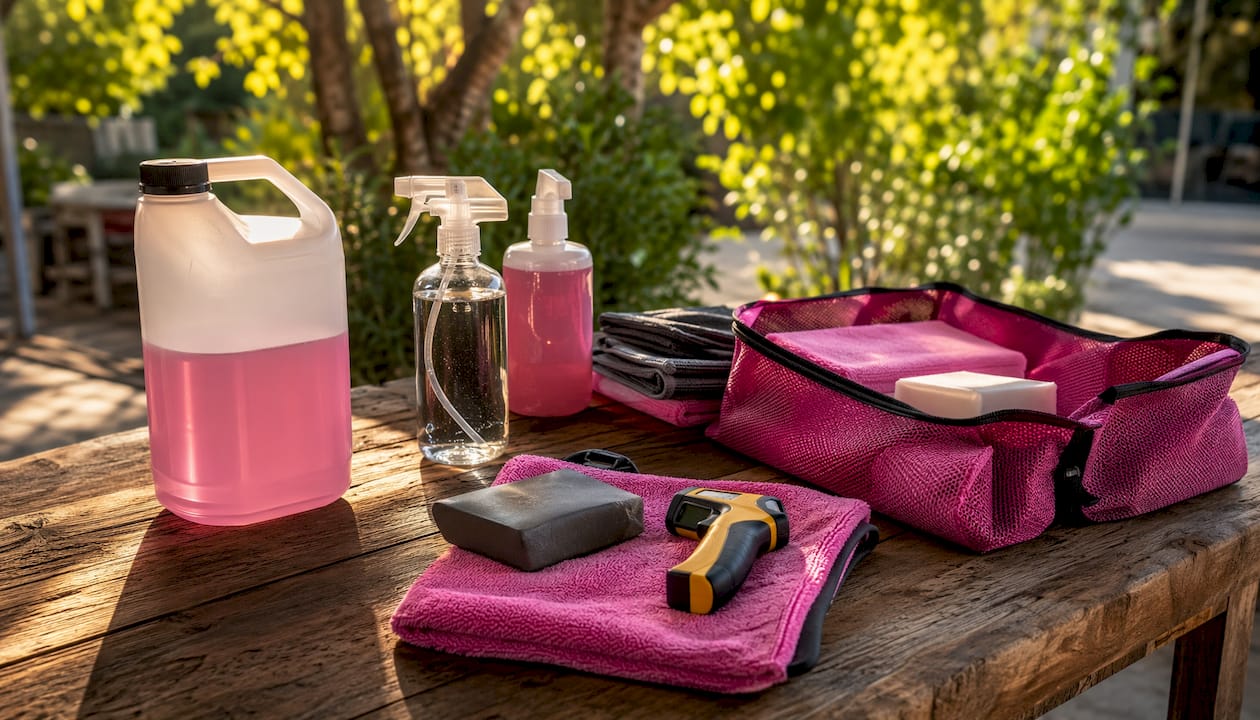
The right tools make or break your results before a single drop of product touches the paint. Essential equipment for ceramic booster application includes a pH-neutral shampoo, two buckets or a foam cannon, and at least two clean microfiber towels. A clay bar or iron remover also belongs on your prep list. These items are not optional extras; they are the foundation of a clean, contaminant-free surface that allows SiO2 to bond properly.
Surface decontamination is the step most car owners skip, and it is the step that matters most. Contaminants like iron, tar, and mineral deposits physically block SiO2 from bonding to the paint surface. A clay bar removes bonded particles that a wash alone cannot lift. An iron remover dissolves ferrous contamination embedded in the clear coat. Skipping either step means your booster sits on top of contamination rather than bonding to the surface beneath it.
Complete drying is mandatory before application unless the product states wet-application compatibility. Water droplets dilute the product and prevent even distribution. After washing, use a clean, dry microfiber towel or a forced-air blower to remove all moisture from panel gaps and body lines.
| Tool | Purpose |
|---|---|
| pH-neutral shampoo | Removes surface dirt without stripping existing coating |
| Clay bar or iron remover | Eliminates bonded contaminants that block SiO2 adhesion |
| Two microfiber towels | One for spreading product, one for buffing off residue |
| Foam cannon or two-bucket wash | Prevents cross-contamination during the wash stage |
| Infrared thermometer | Confirms panel temperature is safe before application |
Pro Tip: Keep your spreading towel and your buffing towel in separate labeled bags. Cross-contaminating them is one of the most common causes of streaking, and it is entirely avoidable.
How do you apply ceramic booster step by step?
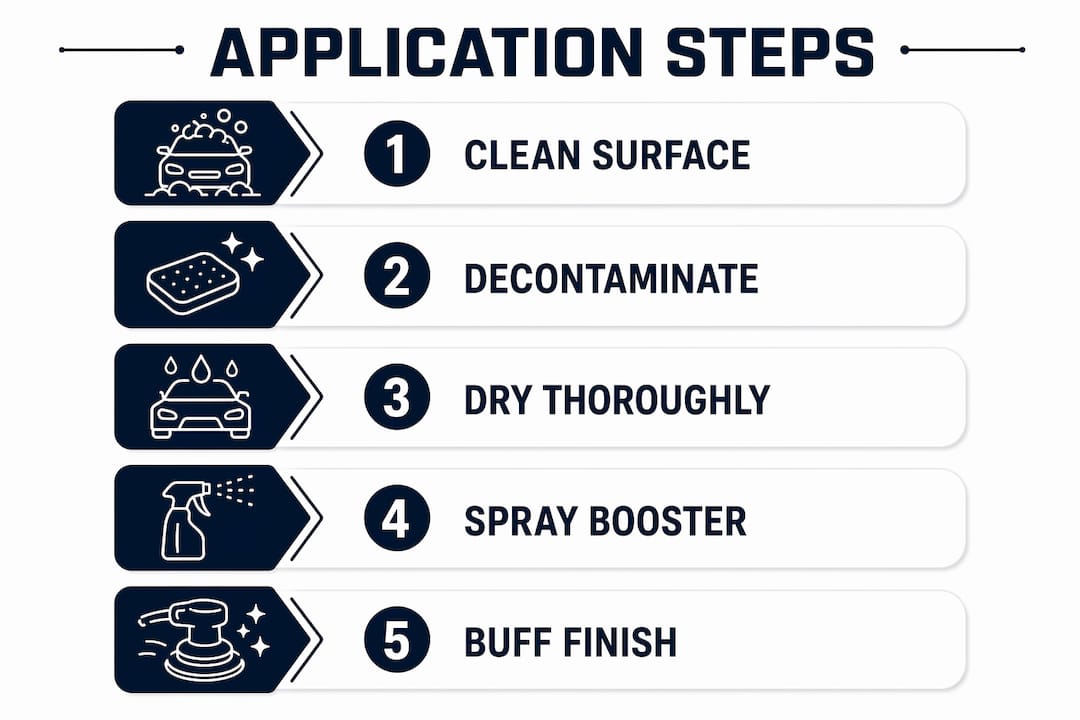
Correct application technique separates a clean, even finish from a hazy, streaky mess. Follow these steps in order and work one panel at a time.
- Shake the product well. SiO2 particles settle during storage. A thorough shake redistributes them evenly before you spray.
- Move the vehicle into shade. Hot panels or direct sunlight accelerate product flash time, causing the product to dry before you can spread it evenly.
- Confirm panel temperature. Use an infrared thermometer to verify the surface is below 90°F. Panels that feel cool to the touch can still be warm from indirect sun exposure, which causes premature smearing.
- Apply 1–2 light mists per panel. Spray directly onto the panel or onto your spreading microfiber towel. One to two light mists per panel is the correct amount. More product does not mean more protection.
- Spread with straight, overlapping passes. Use your first microfiber towel in horizontal passes, then vertical passes. This cross-hatch pattern prevents missed spots and ensures even coverage.
- Buff immediately with a second clean towel. Do not let the product sit. Buff off any excess with your dedicated buffing towel before moving to the next panel. Prompt buffing prevents residue from curing into high spots.
- Repeat panel by panel. Complete one panel fully before moving to the next. Rushing across multiple panels at once leads to uneven flash times and inconsistent results.
- Allow full curing before water exposure. Avoid water contact for at least 12–24 hours after application. Premature water exposure reduces bonding effectiveness and shortens durability.
Pro Tip: Use an infrared thermometer on every panel before you spray. Panels on the hood and roof heat up fastest and are the most likely to cause streaking if you skip this check.
What common ceramic coating mistakes should you avoid?
Most ceramic booster failures trace back to preparation errors, not product quality. Booster failure is usually caused by surface contamination, not a defective formula. Understanding the most frequent mistakes lets you correct them before they cost you time and product.
Applying too much ceramic booster creates thick residues that attract dust and defeat the purpose of protection entirely. One to two light sprays per panel is the correct amount. More product does not bond better; it just creates more residue to remove.
The most common mistakes to watch for:
- Applying over a dirty surface. Washing alone is not enough. Skipping clay bar or iron decontamination leaves a barrier between the SiO2 and the paint.
- Using too much product. Over-application causes high spots, which are hazy, streaky patches that require polishing or isopropyl alcohol wipes to correct.
- Working in direct sunlight or on hot panels. Heat causes the product to flash before you can spread it, leaving uneven coverage and streaks.
- Using contaminated or wrong towels. A towel that has touched wax, polish, or silicone will contaminate your application and cause streaking.
- Skipping cure time. Washing or driving through rain within 12–24 hours of application reduces bonding and shortens protection life.
If you notice high spots after the product has cured, buff the area firmly with a clean, dry microfiber towel. If the haze does not lift, apply a small amount of isopropyl alcohol solution to the towel and work the area gently. For severe cases, a light machine polish removes cured residue without damaging the base coating.
How often should you reapply ceramic booster for lasting protection?
SiO2-infused ceramic boosters deliver 3–6 months of protection when applied correctly to a clean, ceramic-coated surface. That range varies based on climate, wash frequency, and how much UV and road exposure the vehicle receives. A car parked outdoors in Florida will need reapplication closer to the 3-month mark. A garage-kept vehicle in a mild climate may stretch toward 6 months.
The clearest sign that your booster needs refreshing is a change in water behavior. When water stops beading into tight, round droplets and starts sheeting across the surface instead, the hydrophobic layer has degraded. You can also check signs your car needs coating attention by running a clean hand across a dry panel. A surface with active protection feels slick. A depleted surface feels slightly rough or draggy.
Key reapplication indicators:
- Water no longer beads or sheets off quickly after a wash
- Paint surface feels less slick than it did after the last application
- Gloss depth appears reduced compared to a freshly treated panel
- The vehicle has gone through a heavy decontamination wash
Maintain the coating between booster applications with pH-neutral shampoo and the two-bucket wash method. Avoid automatic car washes with abrasive brushes. They strip the hydrophobic layer faster than any environmental factor. For vehicles on a ceramic coating maintenance program, scheduling booster applications seasonally, in spring and fall, aligns with the biggest shifts in UV intensity and road salt exposure.
Pro Tip: Log your application dates in your phone’s calendar with a 90-day reminder. You will catch degradation before it becomes visible rather than reacting after the fact.
Key Takeaways
Correct surface preparation is the single most important factor in ceramic booster performance, and no amount of quality product compensates for contaminated paint.
| Point | Details |
|---|---|
| Prep before everything | Decontaminate with a clay bar and iron remover before any booster application. |
| Less product, better results | Apply 1–2 light mists per panel to avoid high spots and residue buildup. |
| Temperature controls outcome | Keep panels below 90°F and out of direct sun to prevent premature flash and streaking. |
| Two towels, always | Use one towel to spread and a separate towel to buff for streak-free results. |
| Reapply every 3–6 months | Watch for water sheeting instead of beading as the primary sign of protection loss. |
What I have learned from applying ceramic boosters on high-value vehicles
After working on luxury and exotic vehicles at Mannyceramicprotouch, the lesson that comes up most consistently is this: patience during prep saves hours of correction work later. Car owners who rush through the wash and skip decontamination almost always end up buffing out high spots or dealing with hazy panels. The prep stage is not glamorous, but it is where the result is actually decided.
The “less is more” principle for product volume is the one most people resist at first. There is a natural instinct to apply more product for more protection. That instinct is wrong. Thick application creates gummy residue that attracts dust and requires polishing to remove. One to two light mists per panel, spread and buffed promptly, outperforms heavy application every time.
Environmental factors catch even experienced applicators off guard. I have seen panels that felt cool to the touch cause streaking because they had indirect sun exposure from a nearby reflective surface. An infrared thermometer removes all guesswork. It is a $20 tool that prevents a $200 correction job.
Test any new booster product on a door jamb or lower rocker panel first. These areas are less visible, and a test pass tells you how the product flashes and buffs on your specific paint before you commit to the full vehicle. Consistent care, applied correctly and on schedule, keeps a vehicle looking like it just left the studio.
— Emmanuel
Professional protection that goes beyond the booster
A ceramic booster maintains what is already there. For vehicle owners who want a stronger foundation beneath that maintenance layer, Mannyceramicprotouch offers professional-grade ceramic coatings and Liquid Paint Protection Film designed for luxury, exotic, and high-value vehicles.

Mannyceramicprotouch’s Liquid PPF and ceramic coating services provide a base layer that makes every future booster application more effective and longer-lasting. A professionally applied coating bonds directly to the clear coat, giving SiO2 boosters a clean, optimized surface to adhere to. If your vehicle is due for a full coating refresh or you want to understand which protection level fits your situation, the ceramic coating packages page outlines available options and service details.
FAQ
What is a ceramic booster and how does it work?
A ceramic booster is a SiO2-infused spray that refreshes the hydrophobic and gloss properties of an existing ceramic coating. It deposits a new layer of silicon dioxide onto the paint surface, restoring water-beading performance and UV protection.
How long does ceramic booster protection last?
SiO2-infused ceramic boosters last 3–6 months depending on climate, wash frequency, and UV exposure. Vehicles kept outdoors in high-sun environments will need reapplication closer to the 3-month mark.
Can you apply ceramic booster without an existing ceramic coating?
Yes, ceramic boosters work as standalone sealants on bare paint, though durability is shorter than when applied over a base ceramic coating. The SiO2 still bonds to the clear coat and provides temporary hydrophobic protection.
Why does my ceramic booster leave streaks or high spots?
Streaks and high spots result from over-application or working on hot panels. Apply only 1–2 light mists per panel, buff promptly with a clean towel, and always work in shade on a cool surface.
How soon can I wash my car after applying a ceramic booster?
Wait at least 12–24 hours before any water exposure. Washing too soon prevents the SiO2 from fully bonding and reduces both protection effectiveness and longevity.