

TL;DR:
- The car shine enhancement process involves a step-by-step surface cleaning, polishing, and protective coating to restore gloss. It targets light imperfections and requires proper preparation to avoid damaging the paint. Regular maintenance with gentle washes helps preserve the results and prolongs protection.
The car shine enhancement process is a systematic, sequential method of restoring paint gloss and clarity through surface preparation, machine polishing, and protective coating application. It is not a single product or a quick fix. Done correctly, it removes light imperfections like swirl marks, minor oxidation, and surface haze, then locks in the restored finish with a durable protective layer. The industry term for this procedure is paint enhancement, and it sits one level below full paint correction in terms of aggressiveness and time investment.
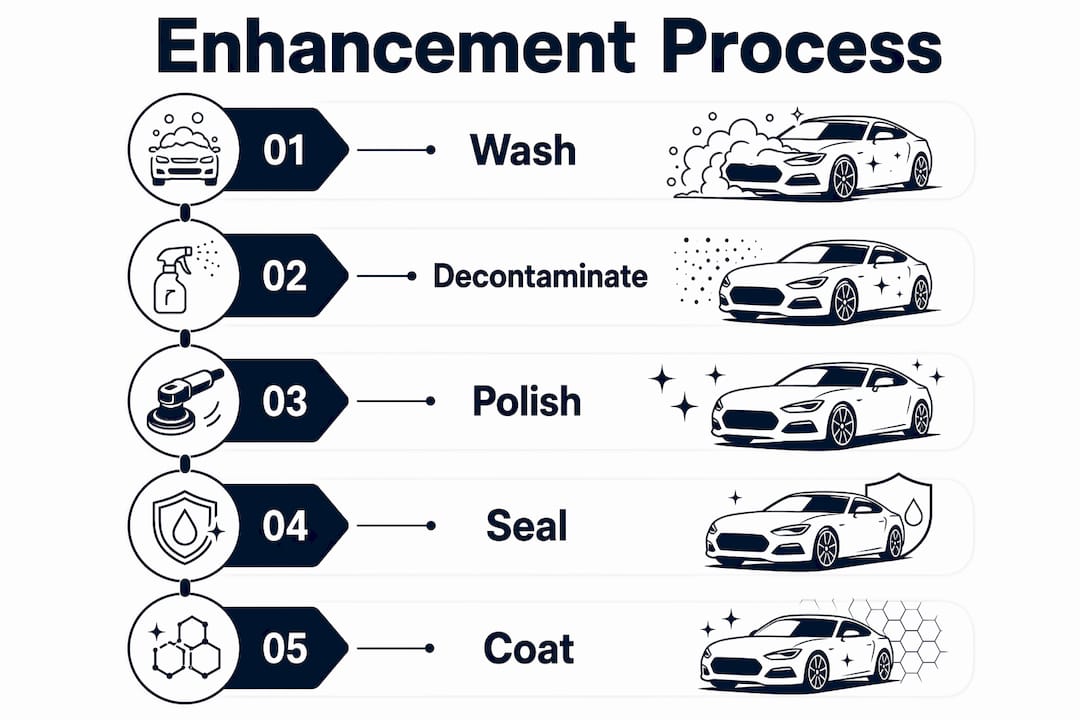
The main stages of the car shine enhancement process are:
- Pre-wash and foam bath — removes loose dirt and grit before any physical contact
- Hand wash with two-bucket method — lifts surface contamination without introducing new scratches
- Chemical decontamination and clay bar — pulls bonded particles from the clear coat
- Single-stage machine polishing — the core step that restores gloss by removing light defects
- Protection application — wax, sealant, or ceramic coating seals and extends the result
Each stage prepares the surface for the next. Skipping decontamination before polishing, for example, risks dragging embedded iron particles across the clear coat and creating new damage.
How to carry out the car shine enhancement process step by step
A well-executed enhancement follows a precise order. Each stage builds on the previous one, and the sequence cannot be reversed without compromising results.
-
Pre-rinse the vehicle. Use a pressure washer or hose to remove loose dirt, grit, and pollen. This protects the paint from abrasion during the wash stage.
-
Apply a foam bath. Coat the entire vehicle with a pH-neutral foam using a foam cannon. Let it dwell for several minutes to soften bonded surface contamination before any mitt touches the paint.
-
Hand wash with the two-bucket method. One bucket holds soapy water; the other holds clean rinse water for the wash mitt between passes. This prevents abrasive particles from riding back across the paint. Work top to bottom, panel by panel.
-
Dry with microfiber towels. Use clean, plush microfiber towels rather than air drying. Water left to evaporate deposits minerals on the clear coat, especially in hard-water areas.
-
Apply chemical decontamination. Spray an iron remover across the paint. The product reacts with embedded brake dust and industrial fallout, dissolving metal particles bonded to the clear coat.
-
Clay bar treatment. Work a clay bar across lubricated paint in straight passes to physically pull remaining bonded contaminants from the surface. The result should feel completely smooth to the touch.
-
Inspect under proper lighting. Before polishing, examine each panel under a focused light source to identify swirl marks, oxidation, and surface haze. This step determines which polish and pad combination to use.
-
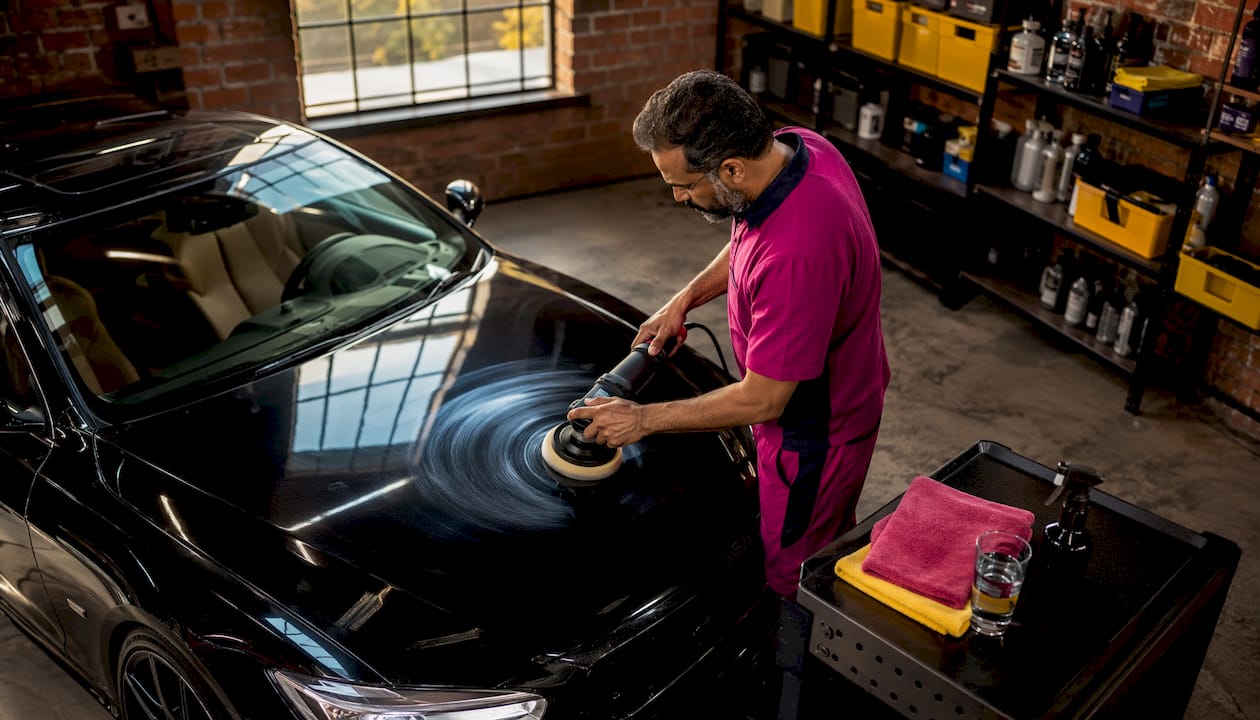
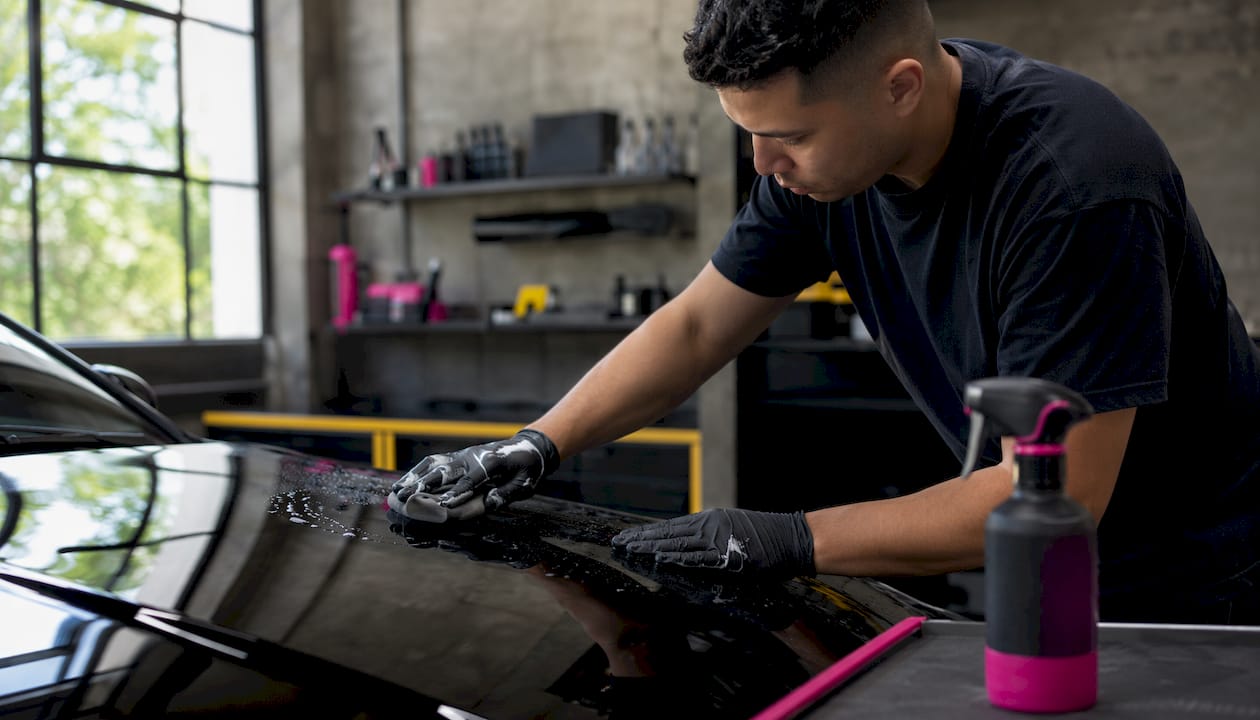
Machine polish with a single-stage compound. Using a dual-action polisher with the appropriate pad and finishing compound, work each panel systematically. Apply consistent, moderate pressure and keep the machine moving to avoid heat buildup.
-
Wipe down with isopropyl alcohol. After polishing, remove all polish residue with an IPA wipe-down. This reveals the true paint condition and prepares the surface for protection bonding.
-
Apply protection. Choose wax, paint sealant, or ceramic coating based on the desired durability. Apply in thin, even layers, allow the product to cure, then remove with a clean microfiber towel.
Pro Tip: Work in a shaded area or enclosed space whenever possible. Direct sunlight causes products to dry too quickly, making them harder to remove and reducing their bonding effectiveness.
Enhancement vs. correction: what is the real difference?
Paint enhancement and paint correction are related but distinct procedures. Understanding the difference helps set realistic expectations before any work begins.
Enhancement targets light imperfections such as fine swirl marks, mild oxidation, and surface haze using a single polishing stage. It restores gloss quickly and works well on paint that has been reasonably maintained. Correction, by contrast, is a multi-stage process that addresses deeper scratches, heavy oxidation, and water spot etching that a single pass cannot resolve.
| Factor | Paint enhancement | Paint correction |
|---|---|---|
| Target defects | Light swirls, mild oxidation, surface haze | Deep scratches, heavy oxidation, water etching |
| Polishing stages | Single stage | Two or three stages |
| Compounds used | Finishing or all-in-one polish | Cutting compound, then finishing polish |
| Time required | 2–4 hours | 6–20+ hours |
| Clear coat removal | Minimal | Moderate to significant |
| Typical result | Restored gloss, improved clarity | Near-flawless finish, maximum depth |
| When it is appropriate | Well-maintained paint with minor wear | Neglected or heavily defected paint |
Enhancement alone is sufficient for most vehicles that receive regular care. If you run your hand across a panel under direct light and see only fine swirls and mild dullness, enhancement will restore the finish without the time and cost of full correction. Deeper, clearly visible scratches that catch a fingernail require correction first.
Choosing the right polishes and tools for the best results
Polish selection is the single most consequential decision in the enhancement process. The wrong compound on the wrong pad can thin the clear coat or leave the finish worse than before.
Types of polishes and their roles:
- All-in-one polishes combine a mild abrasive with a protective agent. They suit light enhancement on paint in good condition and work well for maintenance sessions.
- Finishing polishes contain very fine abrasives designed to refine the surface after a cutting stage or to address light swirls on their own. They produce the highest gloss output.
- Cutting compounds are reserved for paint correction, not enhancement. Using them on lightly defected paint risks unnecessary clear coat removal.
Machine polishers:
Dual-action polishers are the preferred choice for enhancement work because the random orbital motion reduces the risk of burning through the clear coat. Rotary polishers generate more heat and cutting power, making them better suited to experienced operators handling correction work. For most car owners performing enhancement at home, a dual-action machine is the right tool.
Pad selection:
- Foam finishing pads pair with finishing polishes for maximum gloss on lightly defected paint.
- Foam cutting pads work with all-in-one compounds when slightly more correction is needed.
- Microfiber pads cut faster than foam and suit single-stage enhancement on moderately swirled paint.
Additional tools and materials to have ready:
- Clean, high-pile microfiber towels for product removal (dedicated towels, not general-purpose ones)
- A panel wipe or isopropyl alcohol solution for post-polish prep
- A detailing light or LED inspection lamp to accurately read the paint surface
- Masking tape to protect rubber trim and plastic edges during polishing
Pro Tip: Prime the pad with a few drops of polish before the first pass on each panel. An unprimed pad absorbs product unevenly and produces inconsistent results across the surface.
Proper surface preparation before any polishing step is what separates a professional result from a mediocre one. Rushing past the wash and decontamination stages means polishing over contamination, which defeats the purpose entirely.
How long does enhancement take, and how often should you do it?
Time and frequency depend on the vehicle’s size, paint condition, and the level of protection applied afterward.
Typical session duration and frequency:
- A standard enhancement session takes 2–4 hours for a mid-size vehicle in reasonable condition. Larger vehicles or those with heavier surface wear take longer.
- Enhancement is recommended periodically for vehicles driven regularly, depending on climate, parking conditions, and how aggressively the paint is exposed to contaminants.
- Vehicles parked outdoors in high-UV environments or near industrial areas may benefit from more frequent attention.
Cost considerations:
- DIY enhancement kits are available at various price points and require skill to produce professional-level results. The cost of a quality dual-action polisher, polishes, pads, and microfiber towels represents a meaningful upfront investment that pays off over multiple sessions.
- Professional enhancement services range from $150 to $600 depending on vehicle size, paint condition, and the protection product applied at the end.
- Full paint correction services, which go beyond enhancement, carry higher costs due to the additional time and multi-stage polishing involved.
Factors that influence both time and cost:
- Vehicle size (compact vs. full-size SUV or truck)
- Severity of existing paint defects
- Type of protection applied (wax vs. sealant vs. ceramic coating)
- Whether the work is performed by a professional or DIY
Scheduled maintenance is more cost-effective than waiting until paint deteriorates to the point where correction becomes necessary. Catching light swirls at the enhancement stage avoids the significantly higher investment of multi-stage correction later.
How ceramic coatings enhance and preserve the shine long-term
Ceramic coatings represent the most durable protection option available at the end of the enhancement process. Unlike wax or paint sealant, a ceramic coating chemically bonds to the clear coat rather than sitting on top of it. Wax lasts around 2–3 months, sealants 3–5 months, while ceramic coatings last 1–5 years depending on product quality and application.
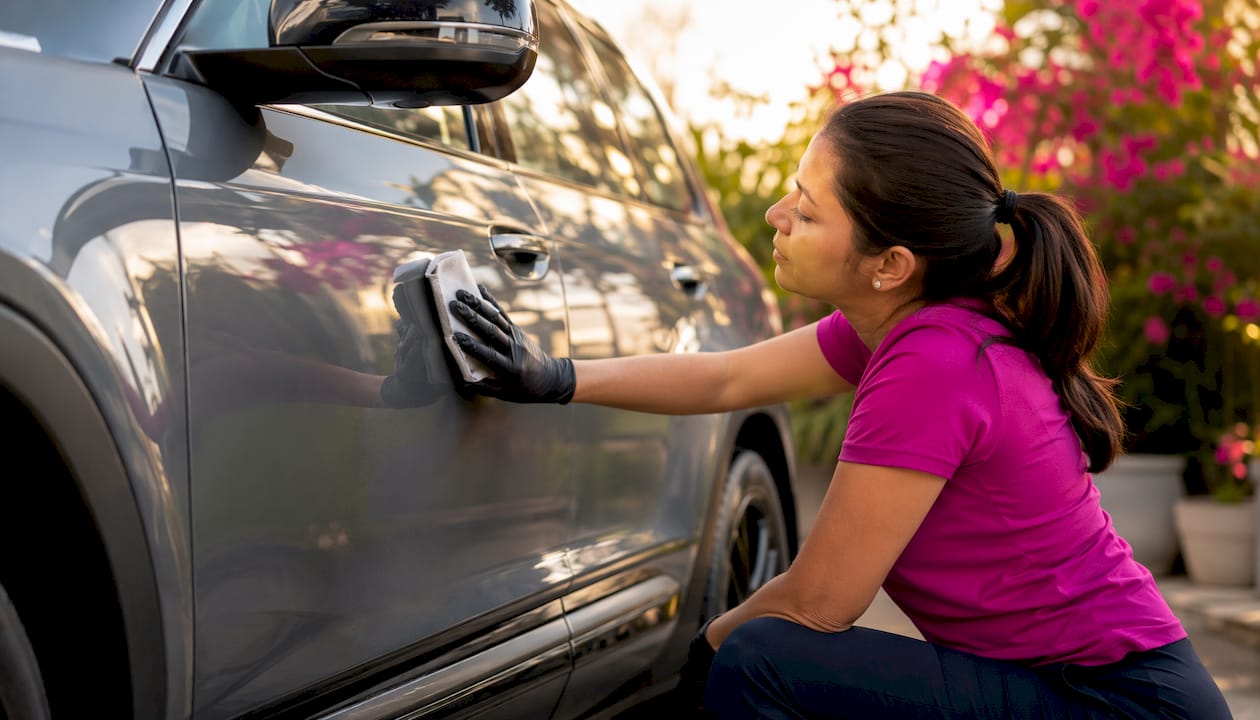
The performance difference is measurable. A freshly polished, ceramic-coated panel measures 2–6 gloss units higher on a gloss meter than the same panel left uncoated. The visual effect is most pronounced on dark colors: black, deep blue, and dark gray paints gain a noticeably deeper, wetter appearance. White and silver finishes benefit less but still gain mild clarity.
Professional-grade ceramic coatings block 88–94% of damaging UV rays and help extend factory paint life notably in high-UV climates. For vehicles kept five or more years, that protection translates directly into preserved resale value.
Key ceramic coating benefits:
- UV ray blocking that prevents paint fading and oxidation
- Chemical resistance against bird droppings, bug splatter, and acid rain
- Hydrophobic properties that cause water to bead and sheet off the surface
- Reduced wash times because contaminants bond less aggressively to the coated surface
- Gloss amplification, particularly on darker paint colors
- Protection that lasts years rather than months
One point that professionals consistently emphasize: a ceramic coating applied over swirled or oxidized paint locks those imperfections in permanently. The coating does not hide defects. It magnifies them. This is why thorough enhancement or correction before coating application is not optional. It is the foundation the coating depends on.
Professional installation typically involves multi-stage paint correction, controlled curing in a temperature-regulated environment, and may include a warranty. DIY ceramic coating kits are available at various price points and can deliver protection when applied to properly prepared paint, but preparation requirements are similar. The coating itself is only as good as the surface underneath it.
For a deeper look at how ceramic coatings enhance appearance beyond basic protection, the science behind the chemical bond and gloss amplification is worth understanding before committing to a product tier.
Wiper blades also benefit from surface coatings. Coated wiper blades demonstrate how polymer bonding technology improves performance and longevity across automotive surfaces, not just paint.
Key Takeaways
A thorough car shine enhancement process requires clean, decontaminated paint before polishing, the right compound and pad combination, and a durable protective coating applied immediately after to lock in the restored gloss.
| Point | Details |
|---|---|
| Preparation is non-negotiable | Washing and clay bar decontamination must precede polishing to avoid trapping contaminants under the finish. |
| Enhancement targets minor defects | Single-stage polishing removes light swirls, mild oxidation, and surface haze without heavy clear coat removal. |
| Polish and tool matching prevents damage | Dual-action polishers with finishing pads are the safest choice for enhancement work on most paint conditions. |
| Frequency and cost vary by condition | Enhancement sessions take 2–4 hours and are recommended every 3–6 months; professional services range from $150 to $600. |
| Ceramic coatings extend results significantly | Quality coatings last 1–5 years, block 88–94% of UV rays, and measure 2–6 gloss units higher than uncoated paint. |
What actually matters for keeping your paint looking sharp over time
Most car owners focus heavily on the enhancement session itself and then neglect the maintenance that determines how long the results last. The polish and coating do the work, but washing technique after the fact is what preserves or destroys it.
The biggest mistake is returning to an automatic brush wash after a professional enhancement or ceramic coating application. Brush washes introduce swirl marks faster than almost any other single habit. A hand wash with a clean microfiber mitt, a pH-neutral shampoo, and the two-bucket method takes 20–30 minutes and keeps the finish intact between sessions.
Routine inspections matter more than most owners realize. Catching early contamination, water spot buildup, or the first signs of coating degradation allows for a quick maintenance polish or a ceramic topper rather than a full re-enhancement. A brief inspection under a focused light source every few weeks takes minutes and prevents compounding wear.
For vehicles with ceramic coatings, a coating-safe maintenance spray or graphene topper applied every few months refreshes the hydrophobic properties and extends the coating’s effective life. Skipping this step does not void the coating, but it does accelerate the point at which a full reapplication becomes necessary.
Harsh chemicals are a consistent source of premature finish degradation. Dish soap, solvent-based degreasers, and automatic car wash detergents strip protective layers and accelerate oxidation. Staying with automotive-grade, pH-balanced products across every wash is the simplest and most effective long-term care decision a vehicle owner can make.
Pro Tip: After any enhancement session, wait at least 24 hours before washing the vehicle. After ceramic coating application, wait 5–7 days to allow full cure before any water contact.
Mannyceramicprotouch specializes in professional paint enhancement and premium ceramic coating packages for luxury, exotic, and high-value vehicles in Fort Lauderdale. Every vehicle receives a tailored surface assessment, thorough decontamination, and precision polishing before any protective coating is applied. For owners who want showroom-level results that last years rather than months, explore Mannyceramicprotouch’s ceramic coating providers to find the right protection tier for your vehicle.
Recommended
- Advanced Detailing Procedures: Expert Guide for 2026 – Many Ceramic Pro Touch
- 12 Signs Your Car Needs Detailing: 2026 Guide – Manny’s Ceramic Pro Touch and Luxury Surface Preservation™
- Steps to Prep Your Car for Coating: Expert Guide – Many Ceramic Pro Touch
- What Is Gloss Enhancement for Your Car’s Paint? – Many Ceramic Pro Touch